Why Your Laptop Webcam Falls Short
The camera built into a laptop is a compromise by design. It has to squeeze into a bezel measured in millimetres, hide behind a lens small enough to vanish into the lid, and share a power and thermal budget with every other component in the machine. Manufacturers pour their engineering effort into processors, displays and battery life, and the camera module is often the last item on the priority list. The result is hardware that performs acceptably in good conditions and disappointingly in poor ones.
The encouraging part is that those weaknesses are predictable. A webcam that looks soft, grainy or washed out is usually reacting to conditions you control — the light hitting your face, where the laptop sits, how far away you are, and whether the lens is clean. None of those require buying anything. Working through them in order will do more for your image than most people expect.
Lighting Is the Single Biggest Improvement
If you change only one thing, change the light. A small sensor in a laptop lid cannot gather much information in dim conditions, so it compensates by raising sensitivity, which introduces the speckled grain that makes video look cheap. Give the sensor more light and it can use a lower sensitivity, producing a cleaner, sharper picture with better colour.
Face the Light, Not the Window
The most common mistake is sitting with a bright window behind you. The camera exposes for the brightest thing in the frame, which is the window, and your face becomes a silhouette. Turn around so the window is in front of you and the same scene transforms. If a window is your only light source, sit facing it, or reposition the laptop rather than yourself.
Soften the Source
Bare bulbs and harsh overhead panels create unflattering shadows under the eyes and nose. A lamp placed slightly off to one side and angled toward your face produces a more even result. Diffusing that light — bouncing it off a nearby wall or passing it through a shade — softens it further. Avoid mixing light sources of very different colour temperatures, such as a warm desk lamp next to cool daylight, because the camera has to guess at one white balance and will usually guess wrong.

Position, Framing and Stability
Laptop webcams are typically wide-angle, which is useful in a small room but unkind up close. Sitting too near the screen distorts facial proportions and exaggerates the nose. Pushing the laptop back a little and, if possible, raising it so the lens sits closer to eye level produces a more natural perspective.
- Keep the camera at roughly eye level rather than looking up your nose from below.
- Leave a little headroom above your head instead of filling the frame with your face.
- Sit far enough back that your shoulders and upper chest are visible.
- Place the laptop on a stable surface — typing on a wobbling lap introduces constant motion that compression handles badly.
Stability matters more than people realise. Video codecs save bandwidth by describing what changed between frames, and a jittering camera forces them to redraw everything constantly. A steady shot often looks sharper than a moving one at the same resolution.
Clean the Lens and Check the Basics
A lens that has spent months in a bag collects a film of dust, fingerprints and skin oils that scatters light and veils the image. A microfibre cloth and a careful wipe is a two-minute job that can produce a visible improvement. While you are there, confirm the obvious: that the camera is not obstructed by a physical privacy shutter, that the correct camera is selected in your conferencing app, and that no protective film left over from shipping is still in place.

Software Settings Worth Changing
Most video apps apply their own processing, and the defaults are not always flattering. Look for the settings menu before your next call and consider these adjustments:
- Turn off low-light or auto-enhancement modes if they produce a smeared, plastic look. They brighten the image by blurring detail.
- Disable background blur or replacement when your connection is weak — those effects consume processing power that your video encoder may need.
- Select the highest resolution and frame rate your camera supports, then let the app scale down if bandwidth demands it.
- Check your operating system's camera settings to make sure it is not set to a lower resolution than the hardware allows.
If your laptop offers a manual exposure or white balance control, using it prevents the camera from hunting between frames every time you move.
Audio Deserves the Same Attention
Viewers tolerate a soft image far more readily than they tolerate poor sound. A laptop's built-in microphone sits far from your mouth and picks up keyboard clatter and room echo. Even when the video is only adequate, clear audio makes a call feel professional. Moving the laptop closer helps slightly, but a headset or an external microphone solves the problem far more effectively.

When to Add External Hardware
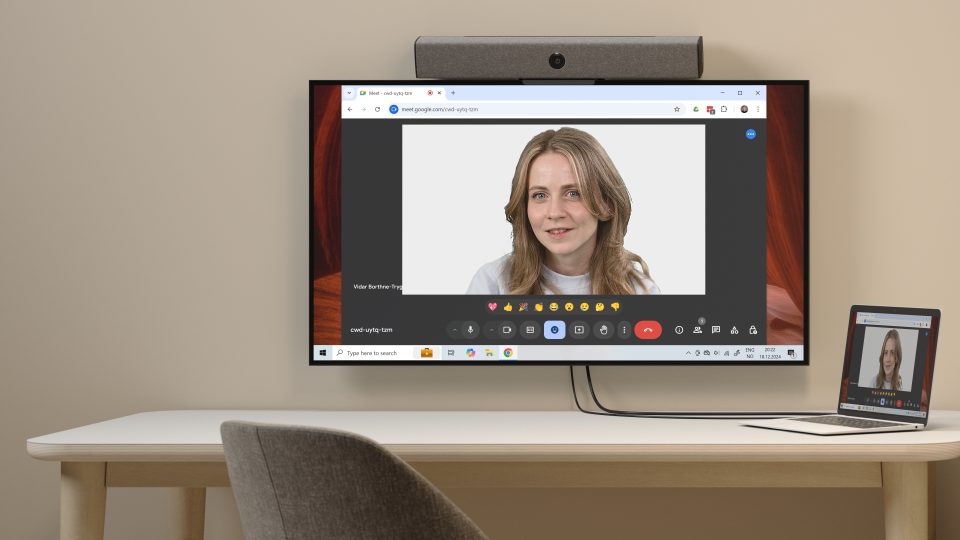
There is a limit to what adjustments can achieve, and a laptop webcam is rarely the equal of a dedicated unit. An affordable external webcam placed on a monitor, or even a smartphone used as a tethered camera, will typically outperform a built-in module because it has a larger sensor and more room for optics. If you appear on video regularly, that is a reasonable upgrade. If you appear occasionally, the lighting and positioning fixes above will likely be enough.
A Quick Checklist Before Your Next Call
- Face your main light source; keep bright windows behind the camera, not behind you.
- Add a second, softer light at an angle to fill in shadows.
- Raise the laptop toward eye level and sit a comfortable distance back.
- Wipe the lens with a microfibre cloth.
- Confirm the right camera is selected and enhancement modes are off.
- Reduce background clutter so the encoder has less to process.
- Use a headset or external microphone for clearer speech.
Laptop webcams are not usually impressive pieces of hardware, but their shortcomings are consistent, and consistency means they can be worked around. Light the scene properly, frame yourself sensibly, keep the lens clean, and adjust the settings you actually control. The camera you already own will look considerably better for it.
This article is based on reporting by Engadget. Read the original article.
Originally published on engadget.com